
Here’s a really simple way to make graves. Great for beginners! 🙂
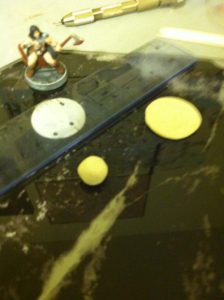
Supplies needed:
– sculpey (or other polymer clay)
– razor blade
– foam core
– hot glue
– paints (and any other finishing materials, like flock, static grass, etc.)
Tip: I use a cheap tempered glass cutting board for working with sculpey. It’s a perfectly smooth surface, which allows me to slide a razor under sculpted items to pick them up, rather than getting fingerprints all over them. The first time you use it, roll a ball of sculpey all over the work surface, to transfer some of the oil onto the glass – this will make the sculpey easier to lift off later.
Let’s get this party started! (and sorry for the REALLY BAD phone pics)
Take some sculpey and make a ball – then squish it with something flat. I used a clear plastic ruler, so I could see what was going on:
Next, use the razor to cut your basic gravestone shapes:
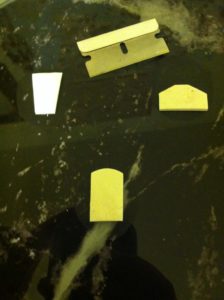
For the most simple gravestones, cut 3 sides of the sculpey for the sides and bottom – the top curve can be used as is. (bottom of photo)
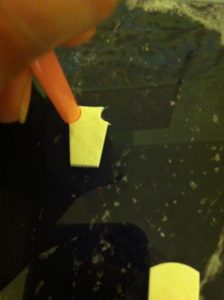
If they come out a little wonky, you can lightly push the sides of the stones with the razor blade to straighten them out.
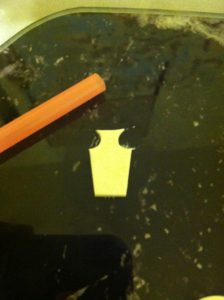
On this one, I used a straw to cut carved corners. Simply press the straw straight down to make the cut:
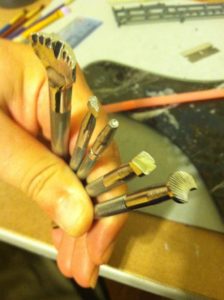
For the more elaborate headstones, I used cheap leatherworking tools as stamps. These can be found in most craft stores.
Note: I did no sculpting! I just gently pressed straight down with the tools. Super simple!

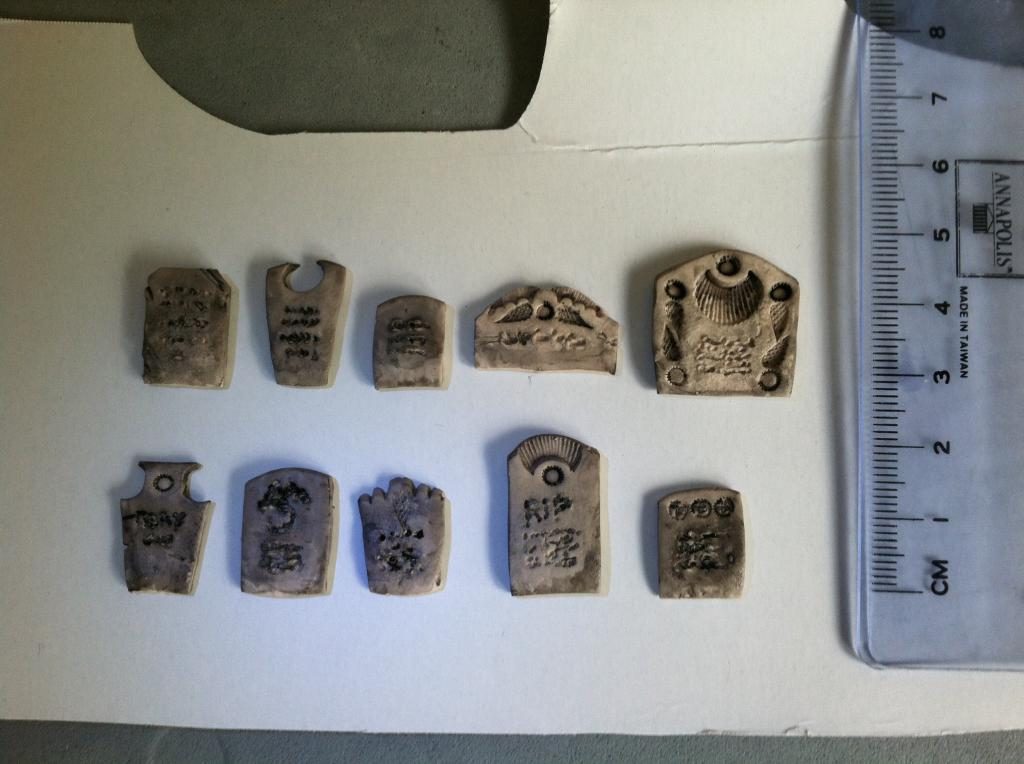
Add some “writing” with a toothpick. I just lightly scribbled and poked holes:

Bake the gravestones to cure the sculpey. (see package for instructions)
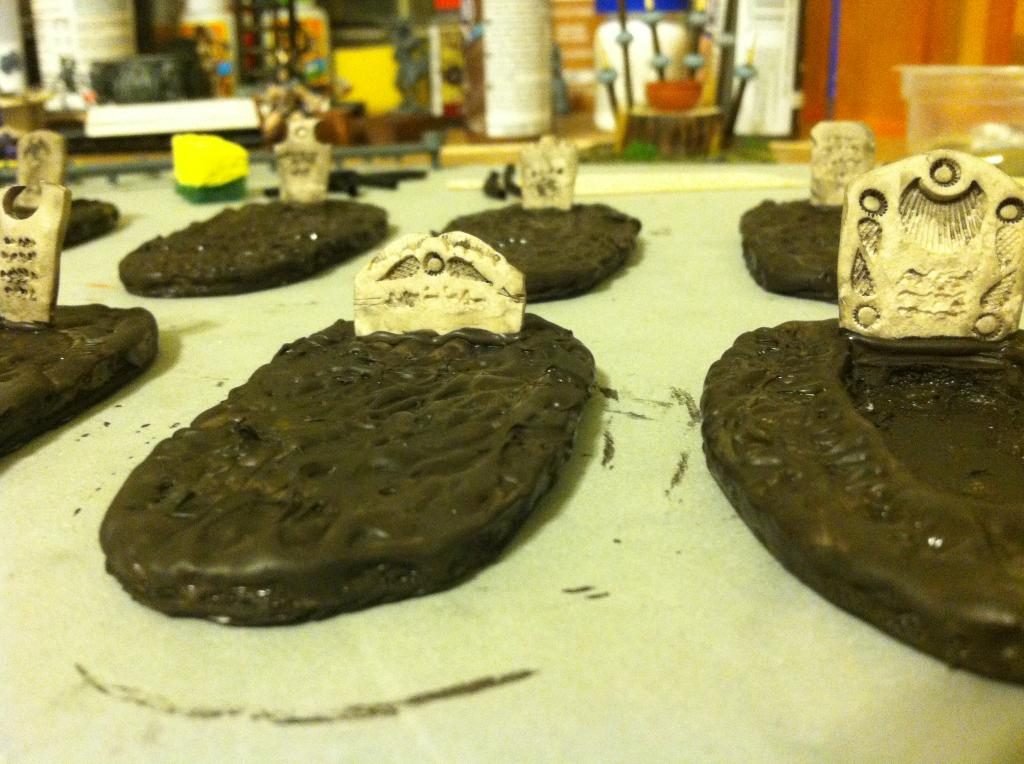
After they cooled, I gave them a quick wash with black. I used premade black “wash”… watered down black paint would work also:
Cut out some oblong foamcore shapes:
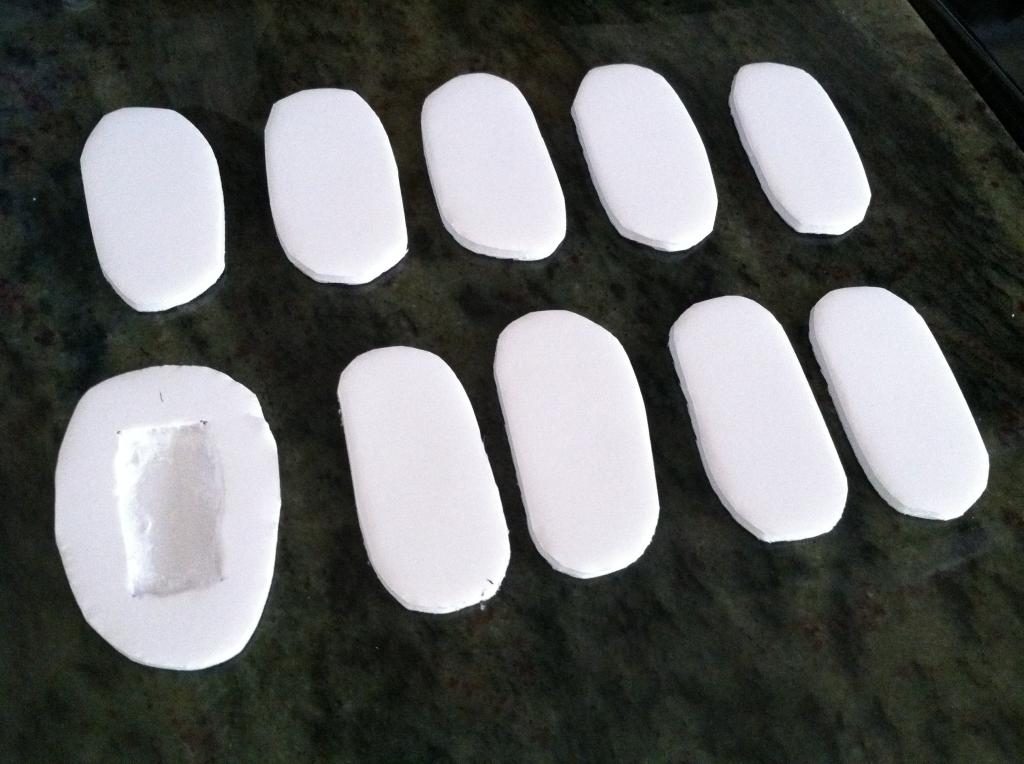
For the open grave, I cut down to (not through!) the bottom layer of cardboard, then pulled out the top layer and the foam.
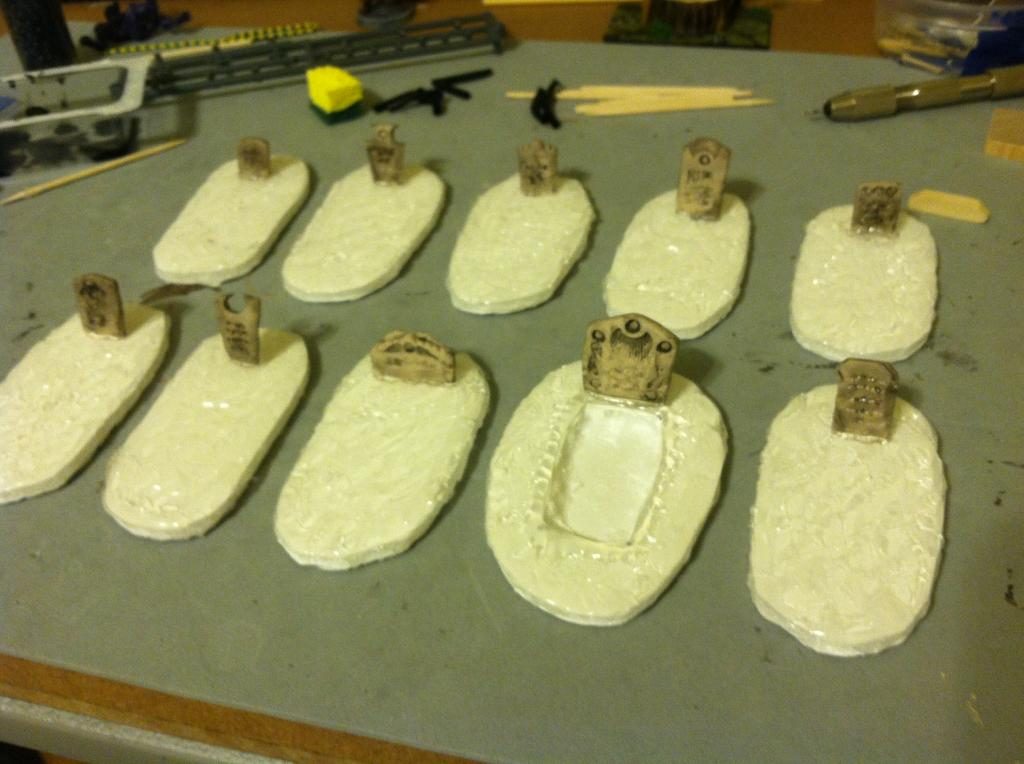
Add some texture to the foamcore with hot glue, and install the headstones. For the open grave I added a ridge around the edge of the grave, which will become piled up dirt later.
Base paint them really dark brown, taking care not to paint on the headstones:
Slap some dark green paint on, letting some brown show in the recesses:
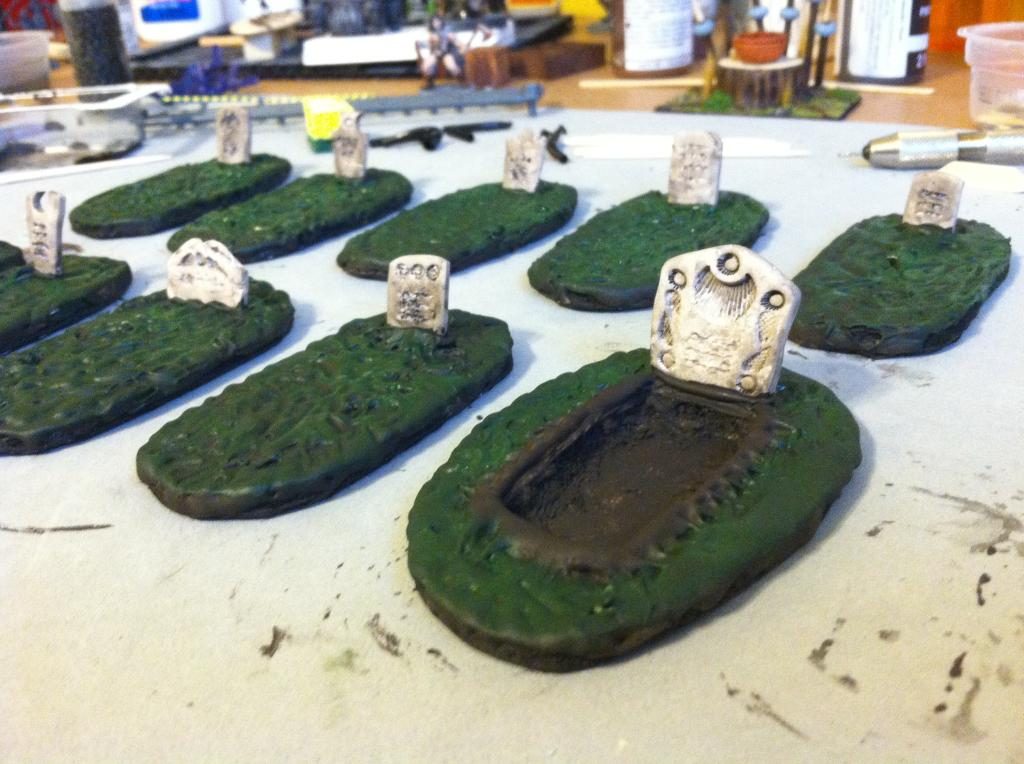
(there’s the dirt ridge on the open grave… leave it brown! 🙂 )
And that’s it – super simple graves!
From here, you could paint or drybrush lighter shades of green for grass, or add flocking, static grass, etc to dress them up.
Something to consider: Not all graveyards are dilapidated and creepy. If the graveyard is inside a city, it may be taken care of very well, with nicely cut grass, etc. If you wanted very tidy graves, simply skip the hot glue texture and add grass flock. This will result in a more uniform lawn.